Shooting video on your jet ski is one of those things that sounds great in your head but is often pretty hard to get done right. If you don’t know what you’re doing you’ll be left with a shaky, unstable, unwatchable mess.
That’s where GoPro mounts come into the picture. I think most of us bought a GoPro thinking we’d be shooting exciting, adrenaline-filled videos right away. However, after using it for a while, I can tell you you’re not getting anywhere without the right mount.
Lucky for you, I’m about to tell you how to mount your GoPro so that you make the most of your camera.
What you’ll need:
1. A Jet Ski (Duh)
2. A GoPro
3. GoPro Adhesive / Handlebar Mount
4. Floaty
5. GoPro tether
Best GoPro For A Jet Ski
Waterproof GoPro that shoots Ultra 4K video. Includes head strap, battery, and SD cards.
Buy Now on Amazon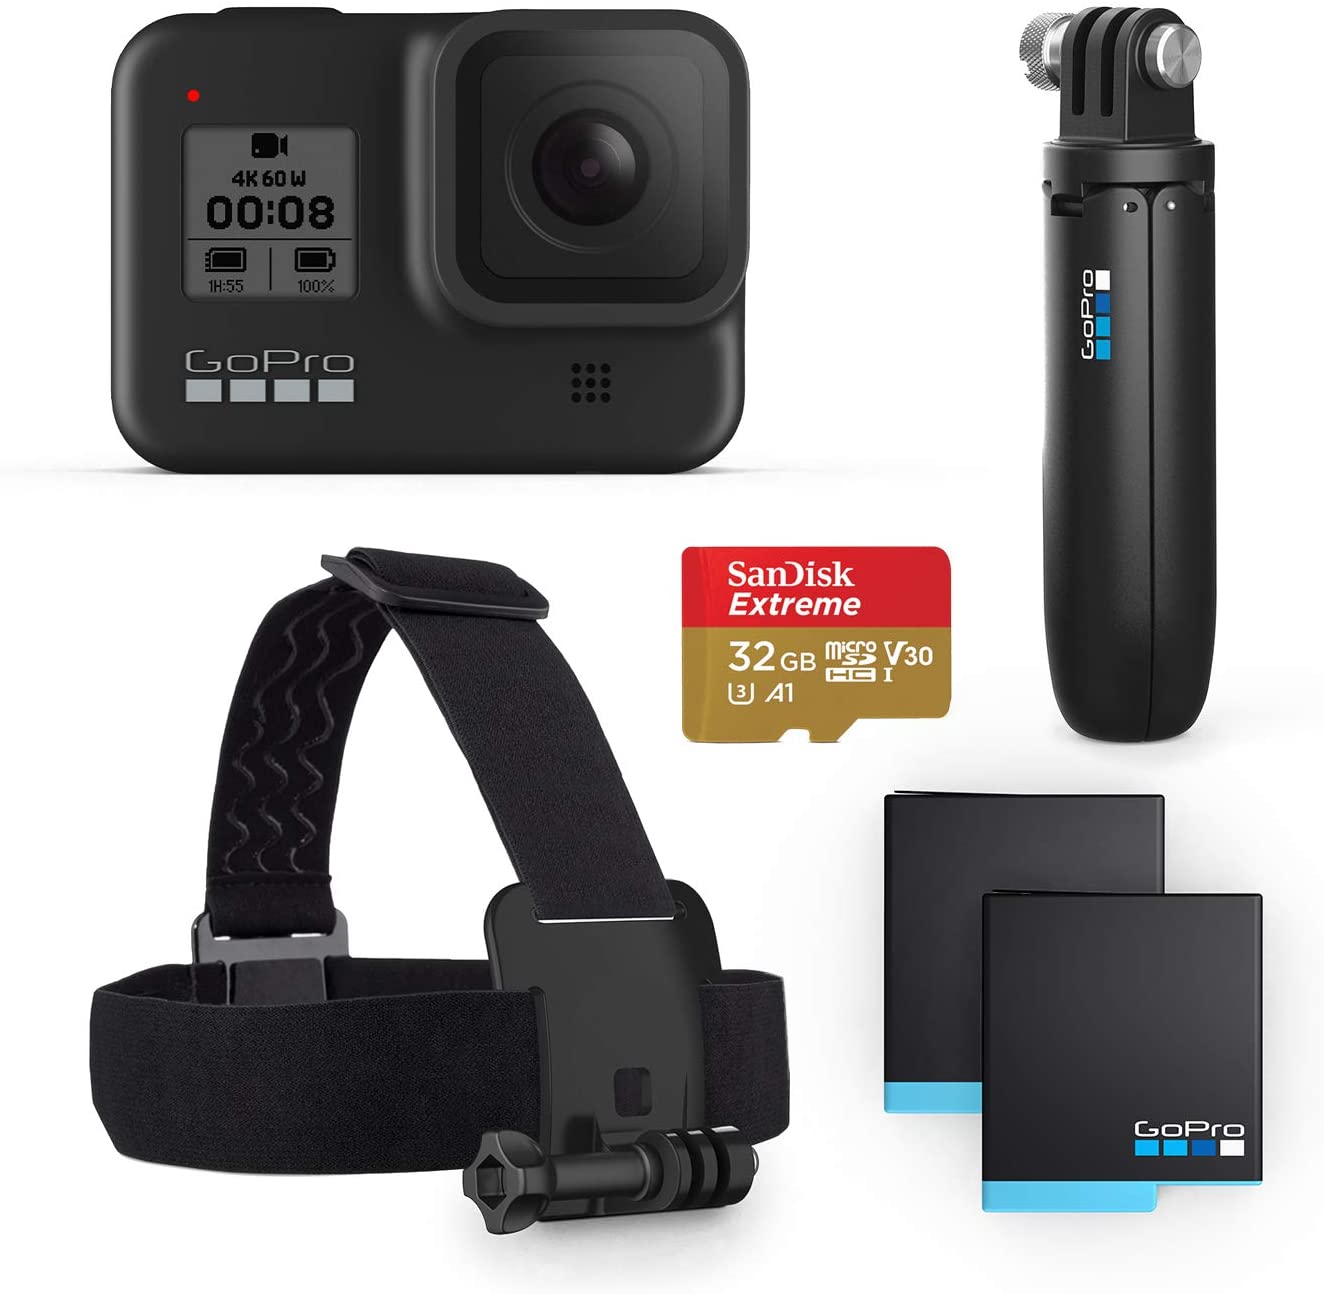
The best GoPro for a jet ski is the GoPro HERO8. It is completely waterproof, making it ideal for watersports. This kit also includes a headstrap, which is perfect if you prefer to keep the camera on your person instead of mounting on the jet ski. The kit also comes with a battery and SD card which you will need. The HERO8 takes breathtaking ultra 4k shots and is sure to enhance your PWC experience!
Don’t lose your state of the art HERO 8! Here is the best floaty and tether and for the HERO8:
Hero8 floaty + tether. Ensures you don't lose your GoPro in the water.
Buy Now on Amazon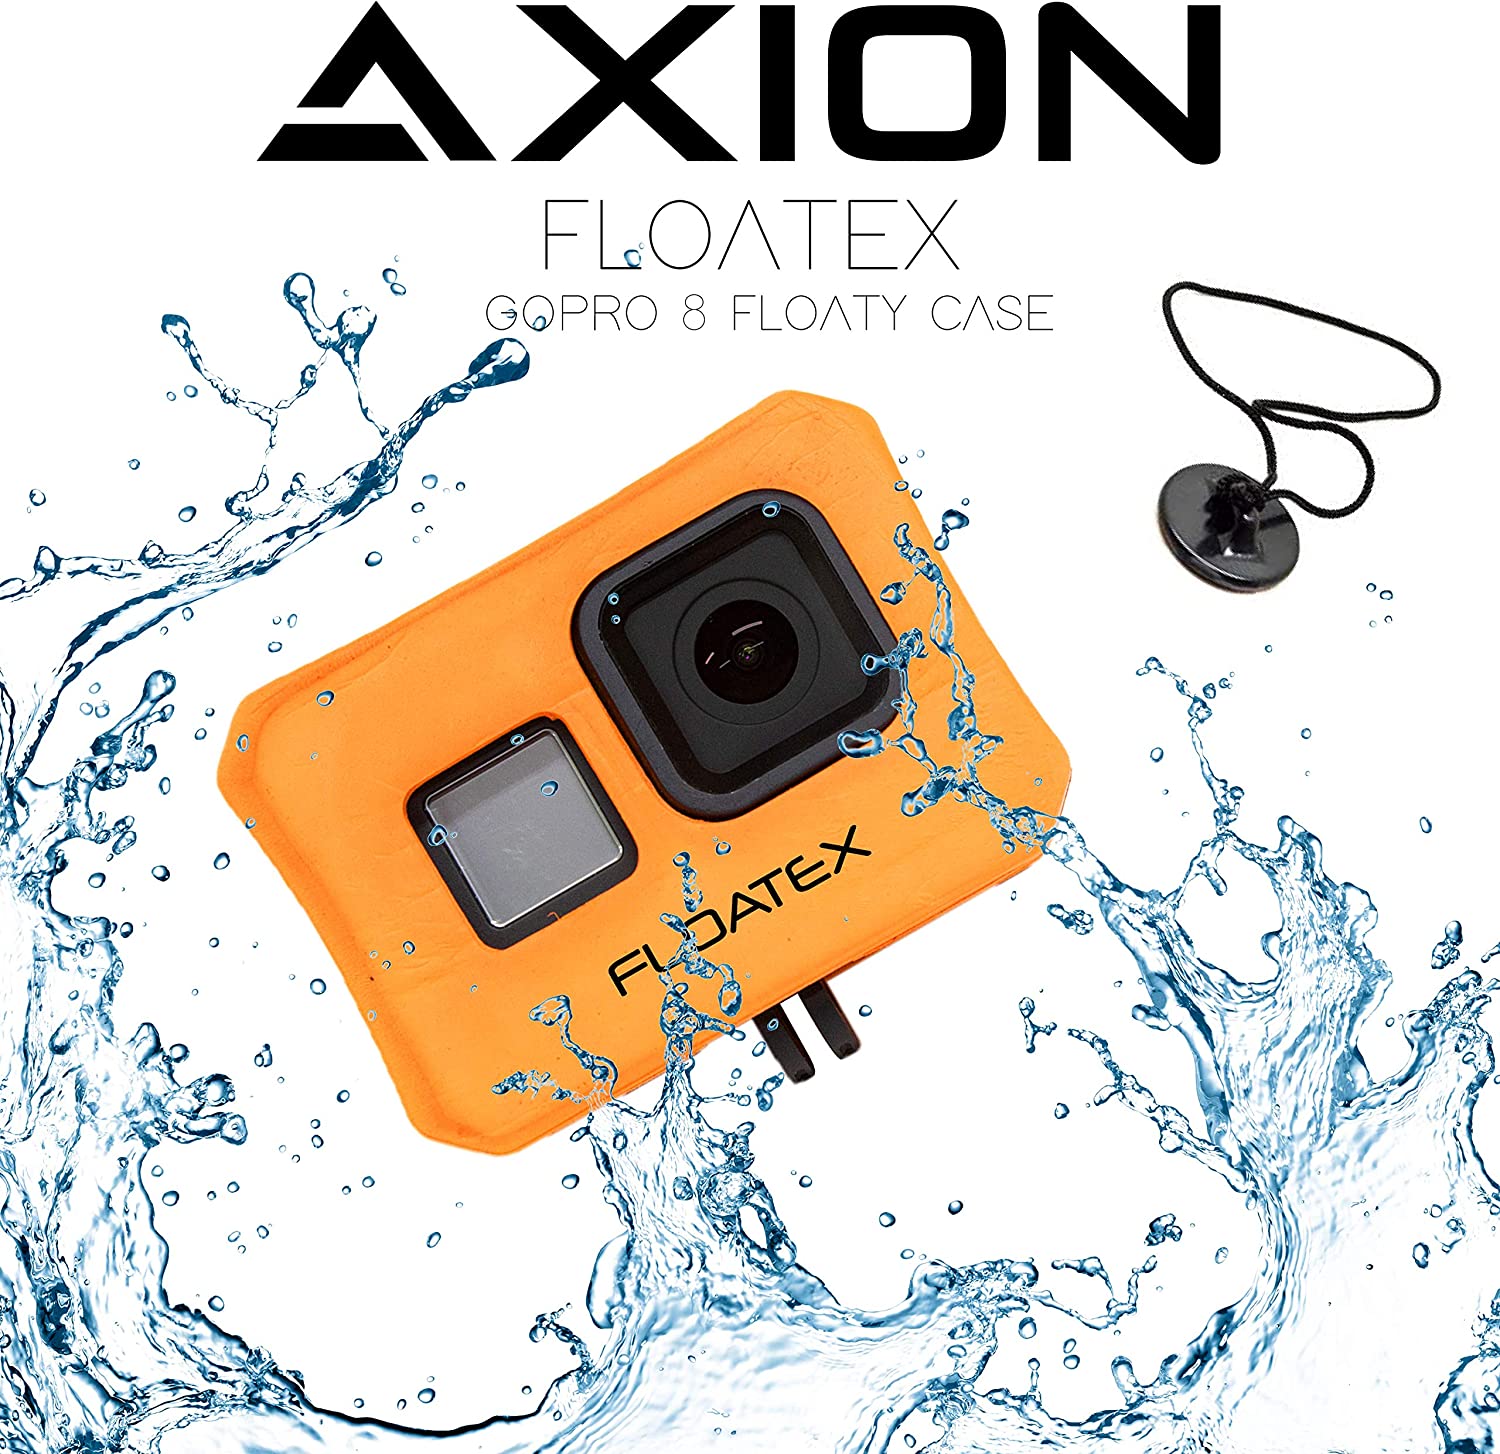
I Want To See Other Jet Ski Accessories
To Mount A GoPro On Jet Ski You Will Need To:
Step 1 – Determine what mount is right for you
Later in the article, well list what we consider the most reliable and safe mounts out there. Having tried both I can tell you there is little to no shaking or risk of loss.
However, you might notice that one of them is adhesive. This is the BEST mount you can get, but it’s a big no-no if you don’t own the jet ski yourself.
If you’re renting, you’ll lose your mount on the rental, and they’ll be stuck with equipment stuck on their jet ski that they didn’t ask for.
Always be sure to ask the owner about it though, I’ve seen plenty of rentals that have sticker mounts already so that tourists can get video.
Step 2 – Choose where to mount your camera
Alright, now that you know which mount to use, you should choose where to mount it. This is going to have the most effect on what kind of video you get.
It’s a lot easier when you own the jet ski since you can try it before you’re riding, so if you’re renting, ask the employees, they probably know tons about it.
When it comes to positioning, the more aligned with your field of view, the more of a POV style video you’re gonna get. You can also pick different angles for a unique shot.
What I did before mounting mine is testing the camera on a bunch of different places and check the image with the GoPro app. I find this is the best way to get an idea of what your video will look like, since it’s a bit harder to imagine the field of view because of the fisheye lens.
Of course, if you went with the handlebar mount, there’s a lot less thinking involved. You guessed it – it goes on the handlebar.
Step 3 – Strap on Floaty and Tether
This is a bit of an optional step, since you don’t actually need to do it, but I strongly suggest you do.
If you’re not familiar with floaty, it’s basically a buoyant bright red cube that sticks to your GoPro or a bright red buoyant case. While a properly placed mount should not come off, even at high speeds, I’m a firm believer in the motto of “better safe than sorry”.
If your camera ever falls into the water, floaty is pretty much your only chance to get it back, it’s bright red and floats so it’s very easy to spot.
Tether is pretty much what you think it is, a tether that connects your GoPro to your gear. You can go for one of these two if you want, I personally use both.
Step 4 – Mount your GoPro
The actual mounting is actually the easiest part of the whole thing, getting there is what makes it a bit complicated.
For the adhesive mount, make sure the intended surface doesn’t have any bumps, you want full contact with the surface. After that, clean it with rubbing alcohol to remove dust, peel the sticker off the mount and stick it.
Just be sure to have full contact and to wait at least 24 hours before use.
The handlebar mount is even easier, it’s pretty much just a clamp. Open it up, put it through the handles, close it and you’re ready to ride.
Best Jet Ski GoPro Mounts
Say you’re getting a rental Jet Ski and cant use the adhesive, but you don’t really like the handlebar mount. What can you do?
Well don’t fret I got you covered too, here are the best GoPro mounts aside from the ones mentioned above.
GoPro Suction Cup Mount
Best if you plan on putting your mount on different vehicles and prefer versatility.
Buy Now on Amazon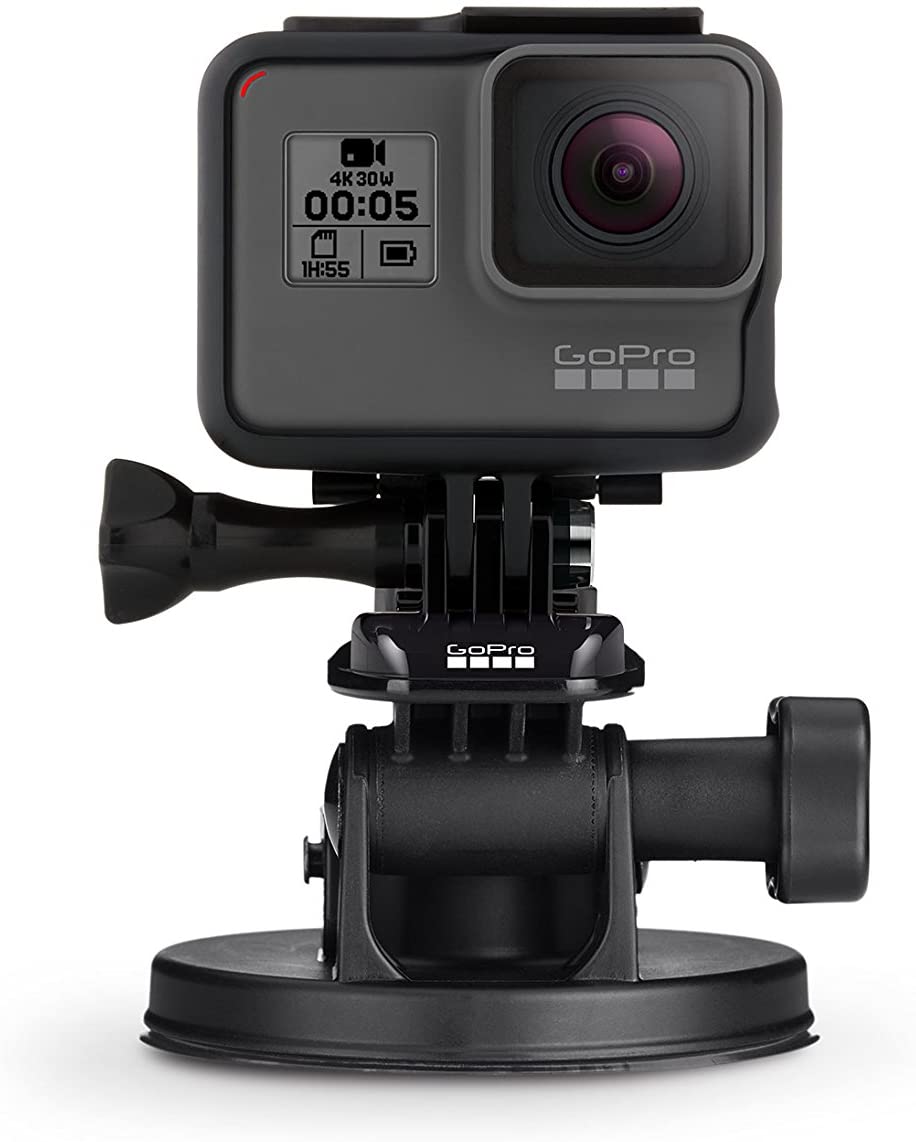
A great option for when you want the versatility of a sticker mount, but none of the responsibility of it being stuck in one place.
I almost included it in the instructions above, but I didn’t because it is not quite as safe as the adhesive, so it would be kinda risky to use it without at least either floaty or the tether.
GoPro Headstrap Mount
Affordable and versatile mount. Best for first-person style shots.
Buy Now on Amazon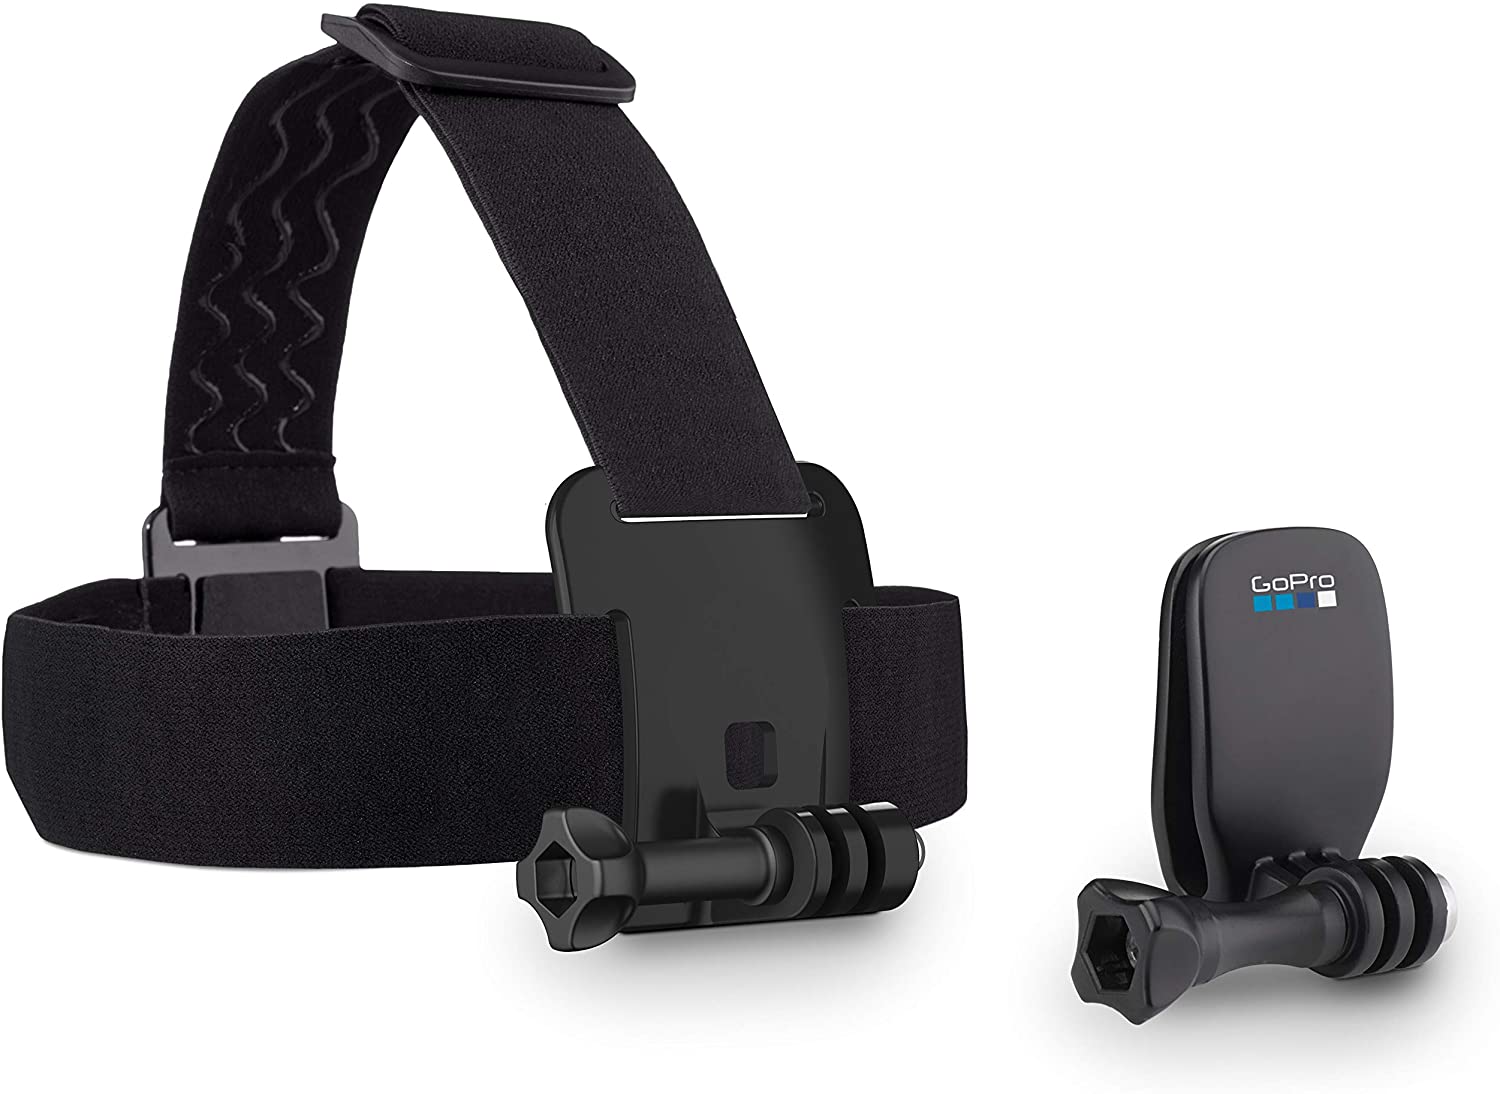
I think the head strap mount is one of the best ones out there right now.
You move your head a lot more than you think, so it might not give you the most stable video, but its sheer versatility makes it a top contender in my mind. It can be used for any activities you might want a POV video of. Just strap it on and you’re good to go.
A word of warning though, it might make you look a bit goofy, but it’s a small price to pay.
GoPro Chest Mount, AKA Chesty
Another versatile option for POV shots. Might include handlebars in shots.
Buy Now on Amazon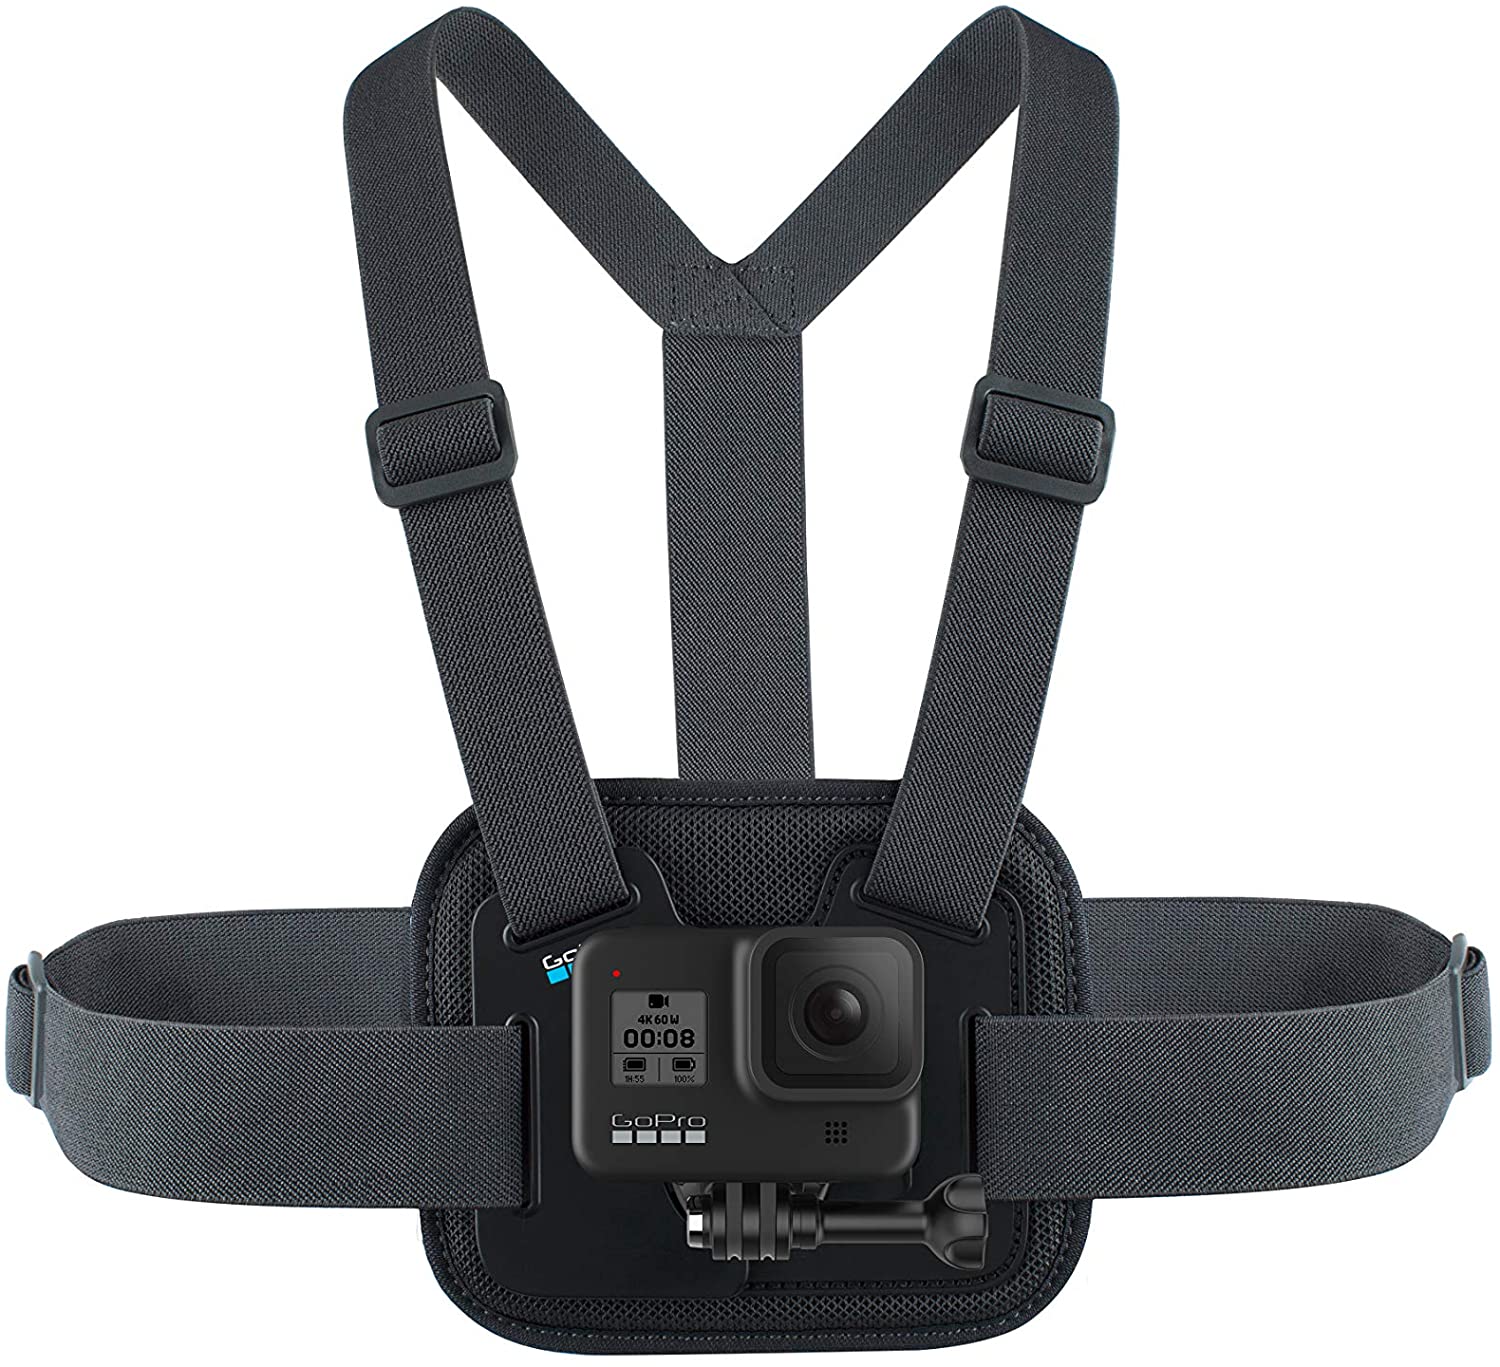
Pretty much all the benefits of the head strap in terms of versatility, with a stealthier look so you don’t look like a clown, while also being easier to get in and out of in my opinion, especially if you’re wearing a helmet.
If I get a little critical there is one thing that I don’t really like about this mount is that often you’re not as aware to where your chest is pointed and you might mess up the shot a bit. They just take a little practice to get used to, especially in extreme sports.
Best Jet Ski GoPro Accessories
Clearex Hydrophobic Screen Protector
Must-have for water shots. Keeps water droplets off the lens.
Buy Now on Amazon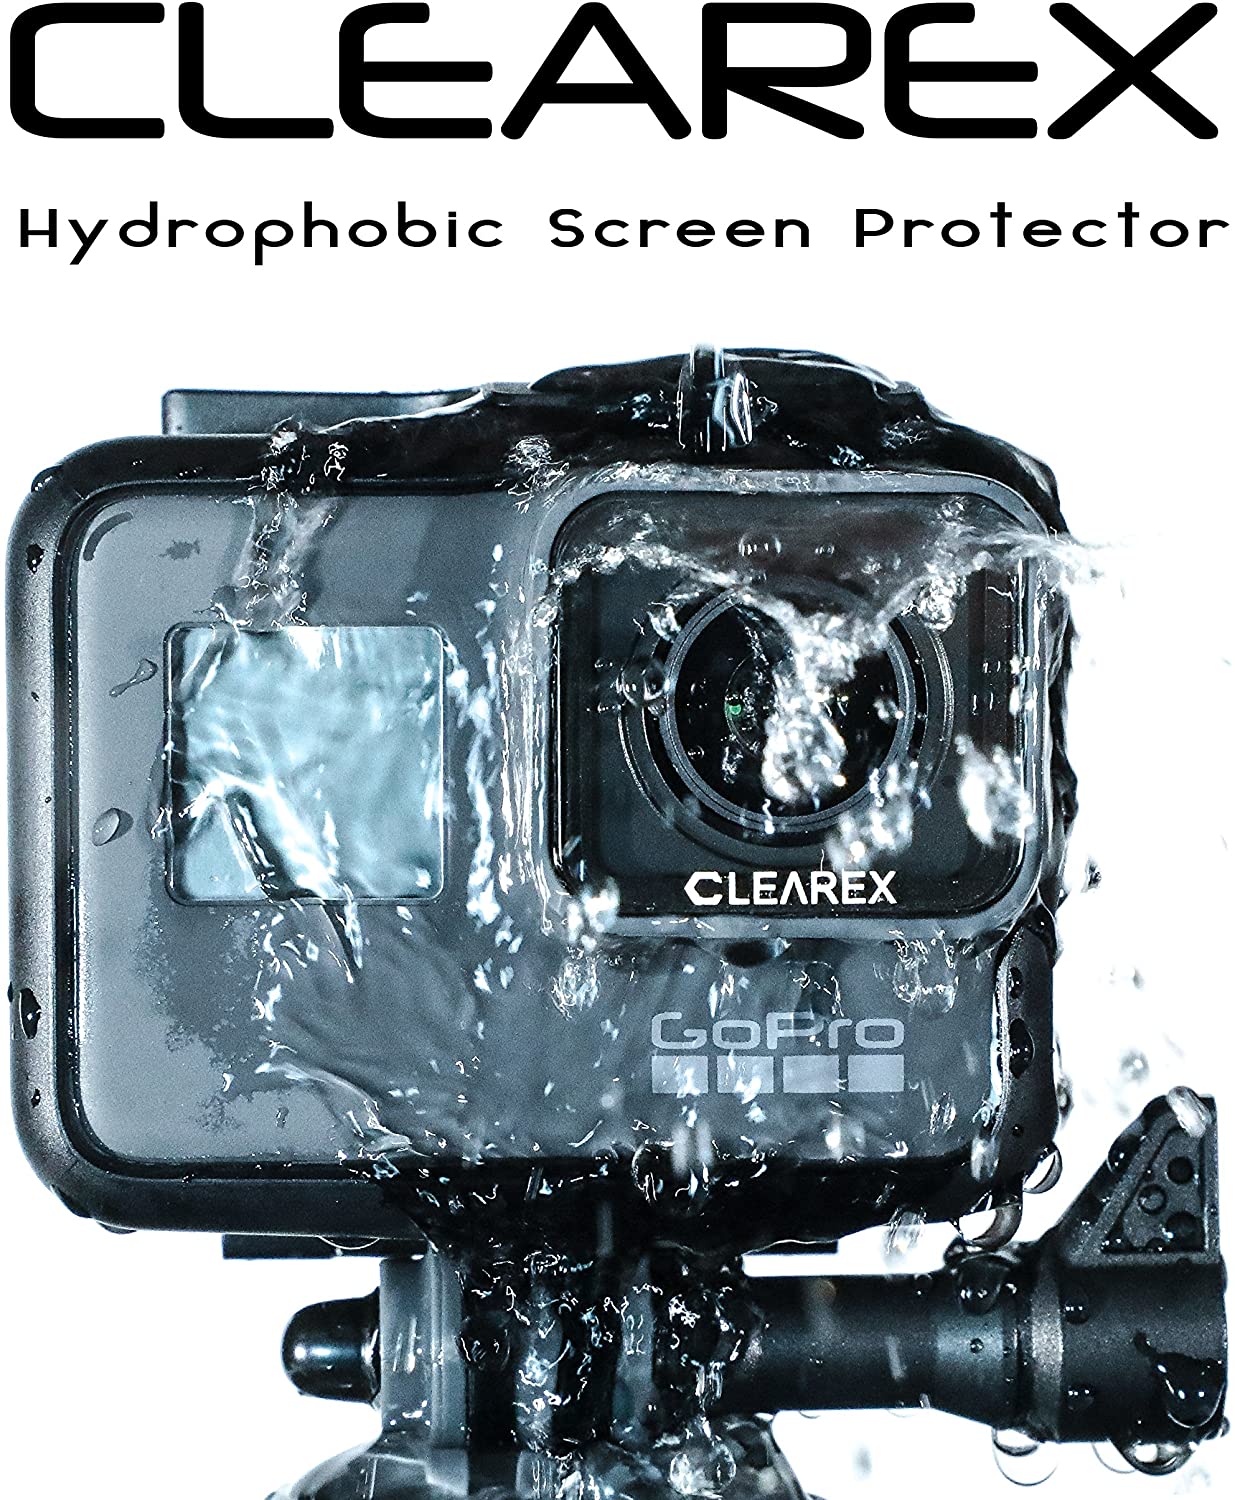
A life changer for anyone shooting video anywhere close to water. You’ve probably had a couple of photos ruined by a water droplet on your lens before. It just sits there and distorts everything.
While there are a few ways of getting around this if you’re close to the camera, if it’s set up away from you (On the front of a jet ski for example) your only choice is to rely on the power of science and get a hydrophobic protector so that droplets slide off.
GoPro Anti Fog inserts
If you have your GoPro in a case, it can become very easy to fog the lens.
Buy Now on Amazon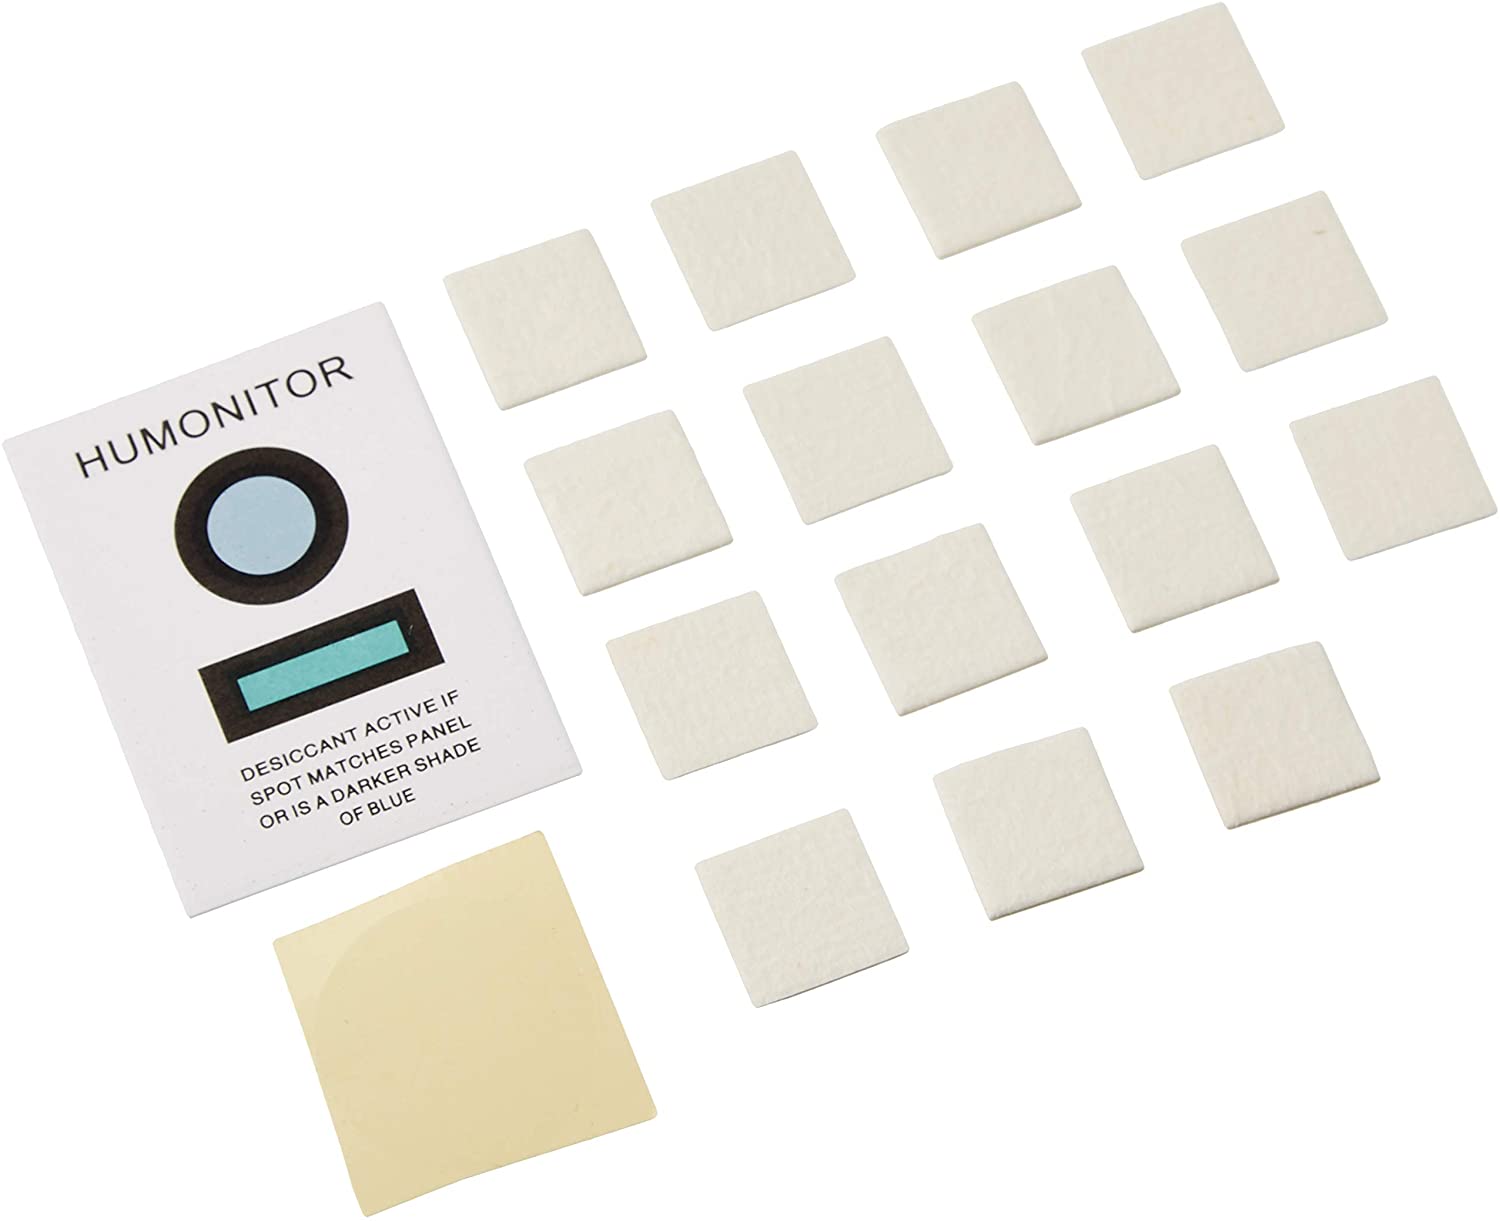
If the tiniest drop of water gets in between your case and the lens, then the heat of the sun will cause it to fog up and leave you with useless footage. These tiny inserts soak up any moisture to avoid that issue.
I Want To See Other Gear Reviews
Floaty and Tether!!
While I talked about these two above already, I really can’t stress enough how big a difference these make. I’d go as far as saying you enjoy yourself more since you’re not constantly on the lookout to see if you lost your camera.
Don't lose your GoPro on the water! This floaty & tether is compatible with GoPro Hero 5, 6, and 7.
Buy Now on Amazon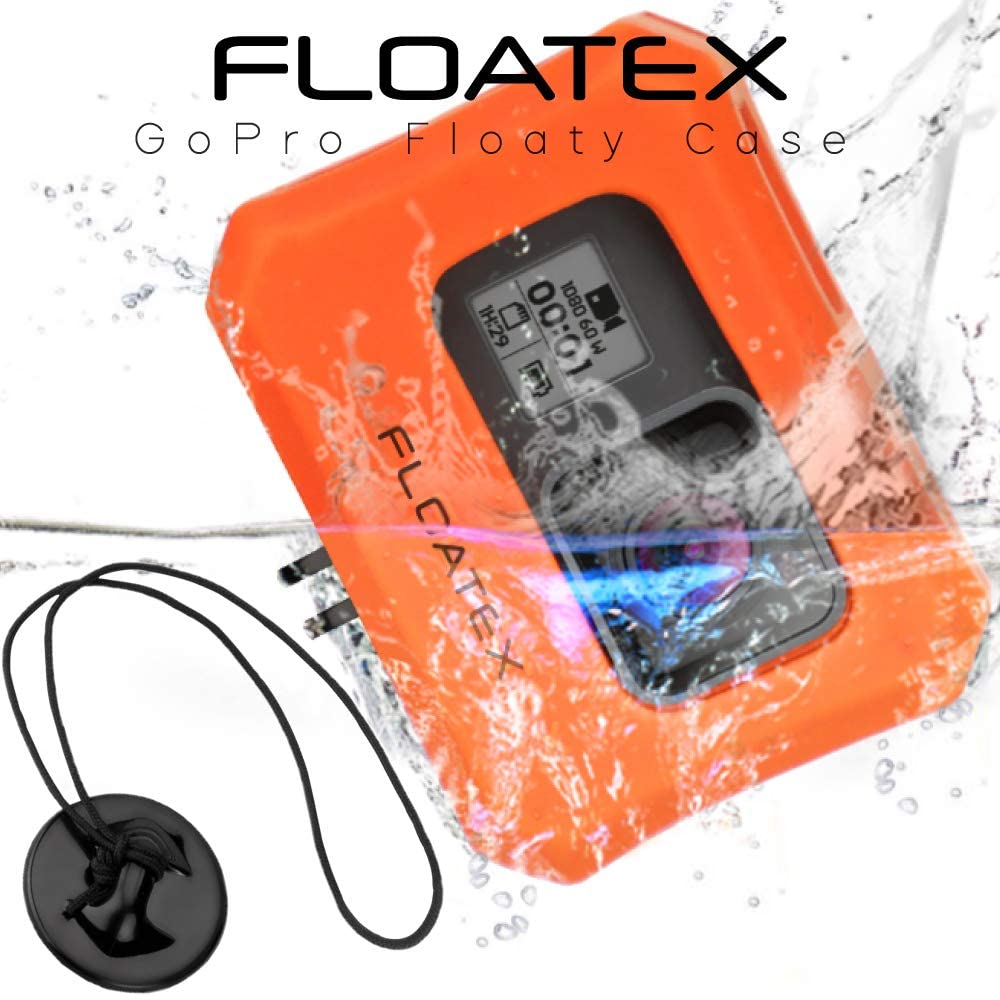
A GoPro retails for up to $300, and for a fraction of the cost, you can make sure you don’t lose your investment on a lake, for some scavenger to find and sell on eBay later.

